Voestalpine Automotive Components: Continuous Precision – Optical Metrology From Tool-Try-Out to Series Production
Company location: Schwäbisch Gmünd
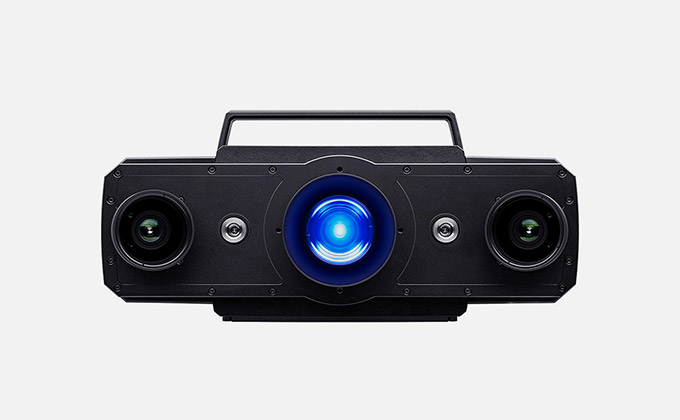
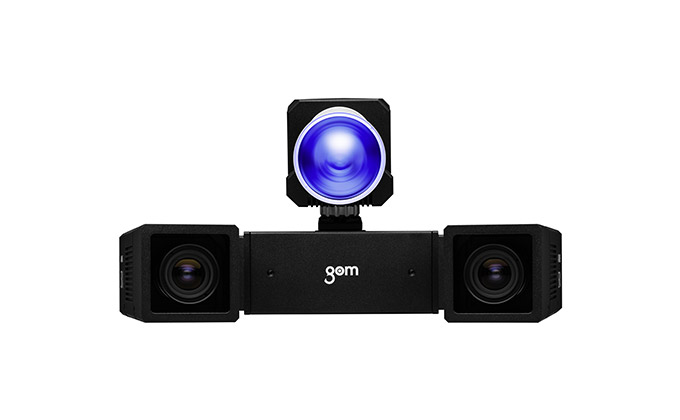
GOM system: ATOS Triple Scan
GOM software: ATOS Professional, GOM Inspect Professional
Sector: Toolmaking and component production
Voestalpine Automotive Components
Voestalpine is a global leader in the technology and capital goods industry. The company focuses on materials and materials processing. At the headquarters in Schwäbisch Gmünd, voestalpine Automotive Components Schwäbisch Gmünd GmbH & Co. KG has also its hot working competence center with around 800 employees responsible for developing, producing and distributing pressed parts for the automotive industry.
The automotive supplier voestalpine uses the ATOS Triple Scan system throughout all processes as a part of quality management. This way, the company is able to shorten production lead times and to guarantee a higher throughput.
Voestalpine Automotive Components, which is located in Schwäbisch Gmünd and is one of the leading manufacturers of body parts, has specialized on complex structure components and body shells. Renowned manufacturers, such as Daimler, Porsche, BMW and Audi, rely on Voestalpine’s extensive experience both in tool try-out and series production of sheet metal parts. To meet the high demands of its customers, the company focuses its quality management on controlling all processes instead of just the end product, as it is usual. Process control begins already in tool try-out and thus results in a consistently high quality of parts and low reject rates.
Precise and fast transition from tool to sheet metal part
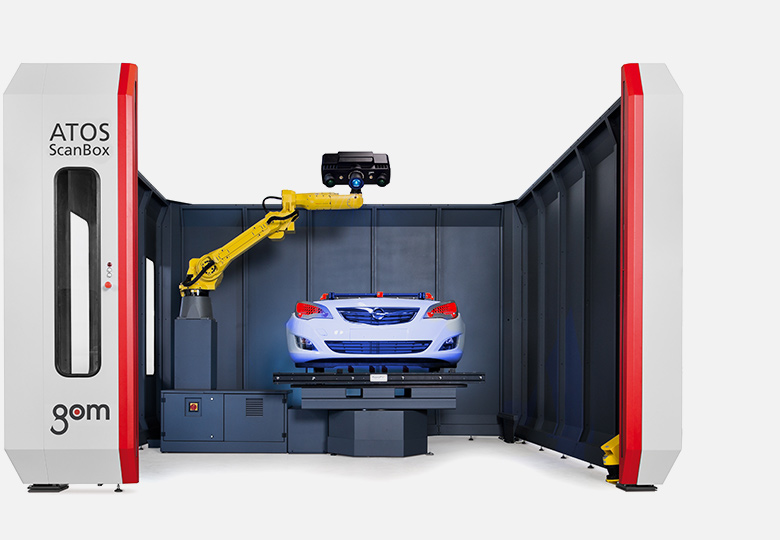
For guaranteeing quality throughout all processes, voestalpine opted for optical measuring techniques. Since 2013, the company uses GOM’s optical measuring machine ATOS Triple Scan in tool try-out and series production.
The supplier produces approximately 370 different com- ponents with a sheet thickness from 0.6 mm to 2.5 mm and therefore sees the key advantage of the optical measuring technique during tool try-out. Already during the production of cold- and warm-formed tools – long before going into series production, the ATOS Triple Scan system is used to fully digitize the first pressed part during try-out.
It shows at a glance, when a part does not lie within the tolerance and at which position of the tool it has to be corrected. This allows fast tool corrections and a comparison of simulation data. “If the tool requires minor corrections, we can mill directly on the STL data set from the measuring system”, explains Daniel Schiller – head of the metrology unit. “When it comes to major corrections, the surface reconstruction is carried out based on the scan data”. In addition, the STL polygon mesh generated by the ATOS system forms a precise data base for reverse engineering. Consequently, the tool CAD is always up-to-date, production lead times are shortened and component safety is increased.

Advantages due to fast processes, data completeness and precision
Another advantage of the non-contact measurement with ATOS is that the digitized data is always available. As tactile measuring procedures require predefined measuring points, all remaining points are not captured in the part geometry. The ATOS system, however, measures up to 16 million points per scan, thus accelerating the process and ensuring precise and complete data. “This is an essential advantage, for example, when it comes to problems or complaints at a later stage in the process”, says Daniel Schiller. In this case, all required data is already digitized and thus available.
There is no need for renewed mounting and measuring. “Furthermore, the full-field visualization is useful for manual tool corrections that are done afterwards”. For this case, the metrologists in Schwäbisch Gmünd use the ATOS Triple Scan system as a mobile unit to scan complete tools during production. The sensor has to be dismantled from the robot head and fixed on a mobile stand, which is done within a few minutes.
As a result, it is possible to check offset and form closure of individual tool components, such as top and bottom of tools, directly in the production hall by means of a virtual assembly.

Automated series inspection

However, the full-field measurement of tools with ATOS is only one of the application fields covered at voestalpine. The key focus is on series monitoring of manufactured components. That is why the robot-guided sensor is located in the production hall directly at the press lines to avoid long ways of transportation to the measuring room.
In series monitoring, both cold-formed and warm- formed parts are measured. Measuring objects range from A-, B- and C-pillars, crossmembers, sidemembers up to side panels and doors. Before going into series production, the predefined measuring points are imported into the GOM Inspect software for the subsequent automated measurement. “Already the second repetition makes the ATOS Triple Scan system profitable”, explains the metrology expert. “When it comes to 100 measuring points or more, it is clear that the pressed part is gomed”, he adds. Besides the number of measuring points, the part geometry and sheet metal thickness are other reasons to opt for a 3D scanner. Even complex part geometries including typical features, such as hole patterns and trimming, are fully measured.
Thanks to the full-field measurement of components and the fast measuring procedure, this method meets voestalpine’s demands. All producing departments receive the measuring report as PDF file throughout series production. This means that employees working in the press shop can detect at any time, if the part’s size accuracy lies within the tolerances and meets the quality requirements.

Competitive advantage due to process optimization
In the retrospective view, the 3D scanner has proven its worth – especially with regard to the full-field digitization of tools and pressed parts as well as to measurements within series production. By integrating the mobile ATOS measuring machine into its processes, voestalpine could implement a comprehensive quality concept and thus ensure a high throughput with a consistently high quality.
Metrology Systems for Sheet Metal Forming
 |
 |
 |
 |
Bring quality, precision, speed and reliability to your production proccessAIE provides the total 3D metrology solutions from GOM to industrial customers and mechanical research institutes and universities in Vietnam. Contact us for free consultation today. |


