Automated Inspection and Digitization of Hairpins and Stators
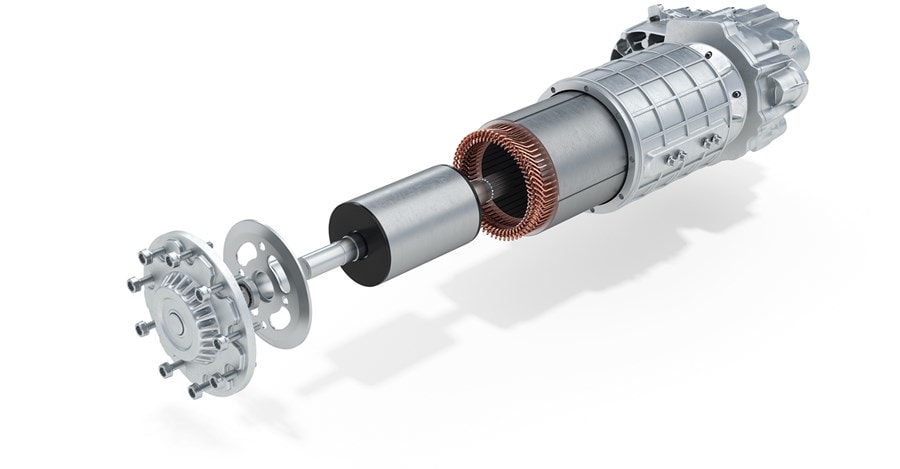
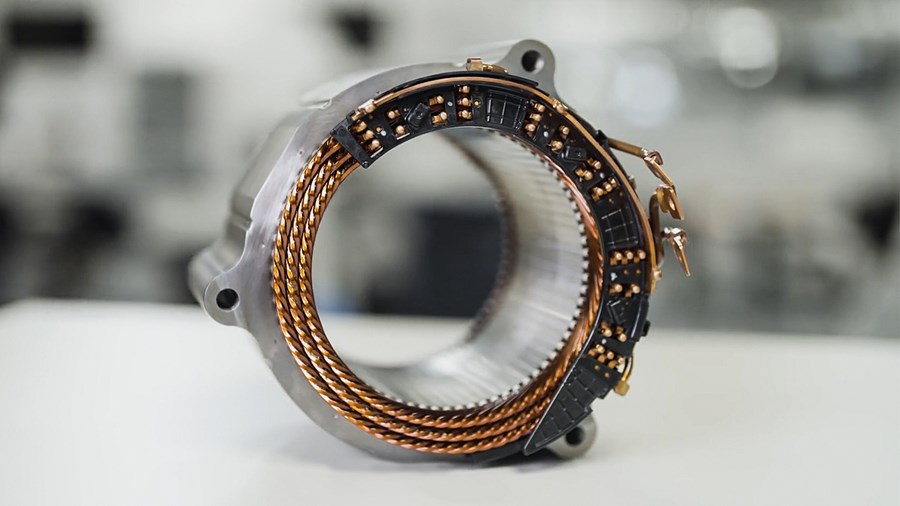
ZEISS ScanBox for eMotors is specialized in the very fast and precise inspection and digitization of hairpins, and stators. Both, complete stators including the hairpins and individual or multiple hairpins can be inspected fully automated within a very short time. The captured 3D measurement data are visualized and analyzed in the powerful inspection software within the ZEISS Quality Suite.
Optical 3D Measurement Technology: Fast, Precise and Reproducible Measuring Results
ZEISS ATOS Q sensor is integrated in the automated ZEISS ScanBox for eMotors. In a very short time, ZEISS ATOS Q captures quality information in a high level of detail and thus creates a reliable basis for evaluating these information. ATOS Q works with non-contact fringe projection and allows for detailed and reproducible acquisition of measurement points even for structures that are sensitive to touch.
Full Surface Digitization
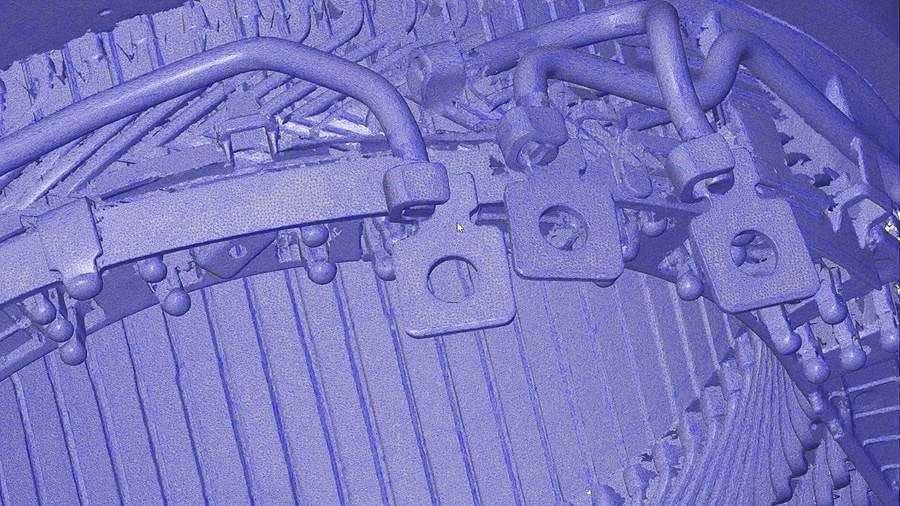
ZEISS ScanBox for eMotors was specifically developed for full-surface, automated scanning of single or multiple hairpins as well as complete stators. No prior surface treatment is necessary.
Digital Geometrical Twin
A full geometrical digital twin is generated in the software from 3D coordinates that are distributed over a wide area. This enables deviations and defects in component geometries to be identified quickly and reproducibly compared to the CAD model.
Easy Operation
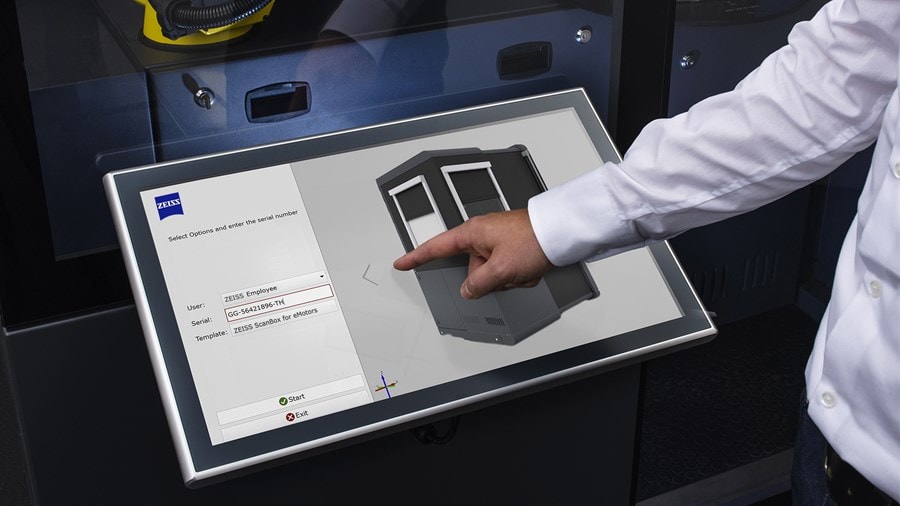
Program and control ZEISS ScanBox for eMotors via a user-friendly interface in the software – the Kiosk Interface. Insert the component, select the measuring program, and press the start button.
All-in-One Software for the Entire Workflow
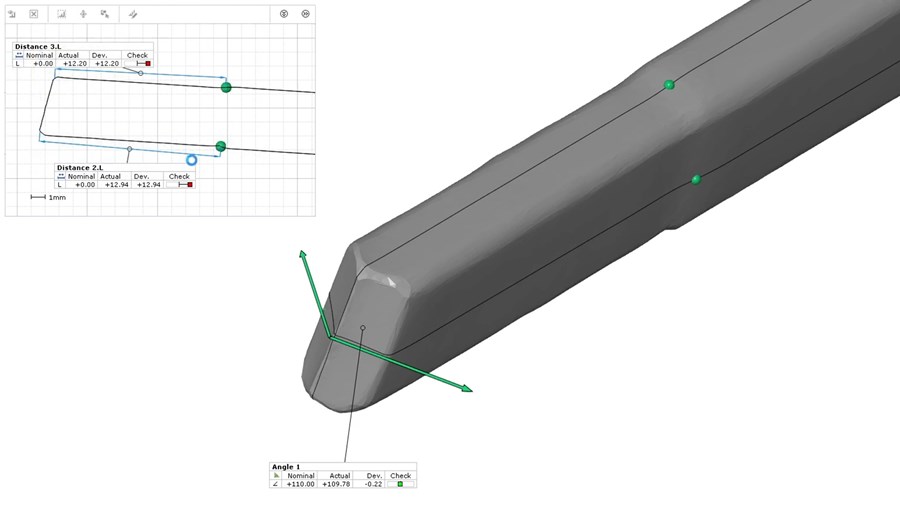
ZEISS ScanBox for eMotors is operated from the inspection software within the ZEISS Quality Suite: from data acquisition to inspection and reporting. The measurement workflow can include both simple and complex inspection tasks – from individual measurements to monitoring in the series production. Measurement and inspection sequences are executed via the intuitive user interface, the Kiosk Interface, and the virtual measurement room (VMR). Typical analyses for hairpin quality control are form, angle, and position tolerances as well as bending points, radii, and leg lengths.
Virtual Measuring Room
The virtual measuring room (VMR) is opened in ZEISS Quality Suite. It contains a functional image of the real ZEISS ScanBox for eMotors as well as the robot programming including the kinematics of the robot paths. Smart Teach functions are used to define the sensor positions to be tested, which are then automatically evaluated and optimized by the software. All positions contained in the measurement plan can then be traversed and compared with previously imported CAD data or a reference model previously created offline.
Inspection of Stators and Hairpins
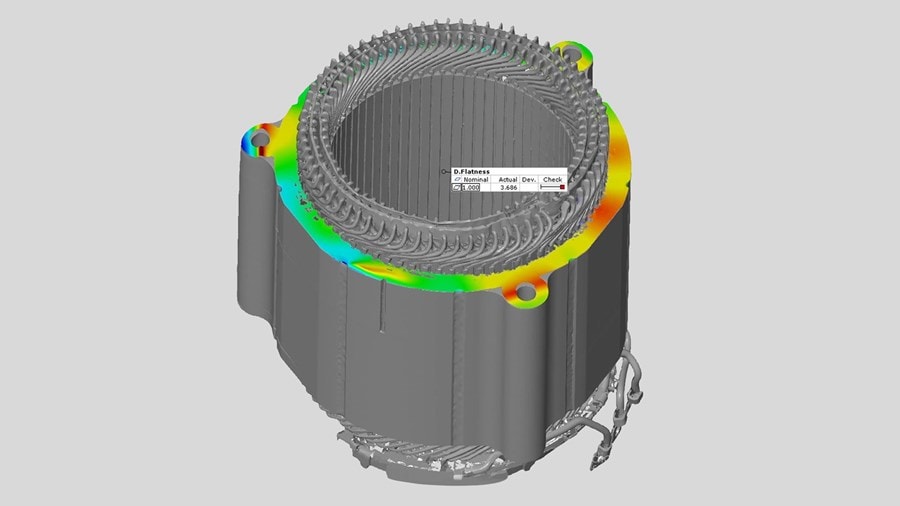
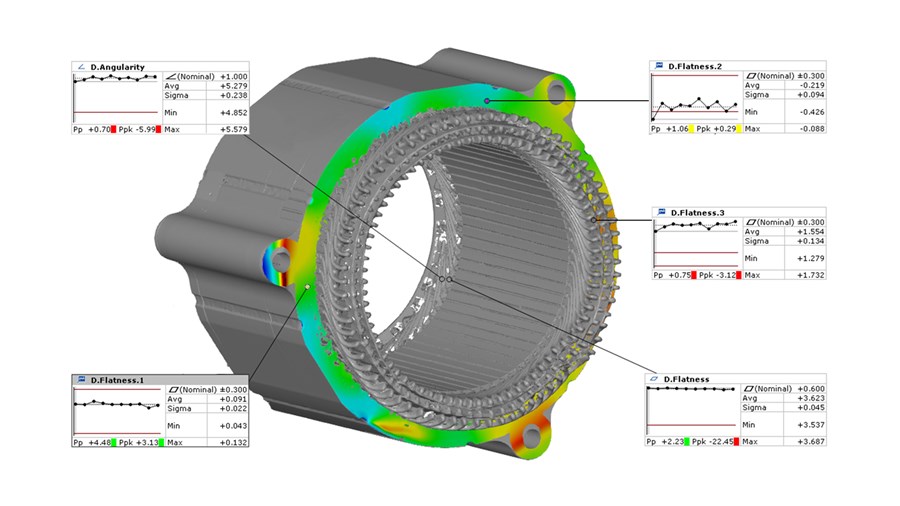
Once the digital geometric twin has been created, the actual data can be compared to the nominal data from the CAD model. For this purpose, the two data sets are aligned with each other, e.g. via the inner cylinder of the sheet metal package, a face, notch or a connecting hole. A comparison of surfaces can be used to check various quality criteria. While the inspection of a stator includes checking for cracks, deformations of the winding cage or the connection points, deflections, displacements, and the roundness of the inner cylinder, the focus of the hairpin inspection is on features such as deformations at the hairpin ends or the bending and folding process.
Trend Analysis
Using automatic trend analysis, deviations from the ideal model can be identified at an early stage. Changes in previous production steps are quickly detected by continuous measurements. Necessary adjustments can be derived from this and implemented in previous production steps.
Digital Assembly
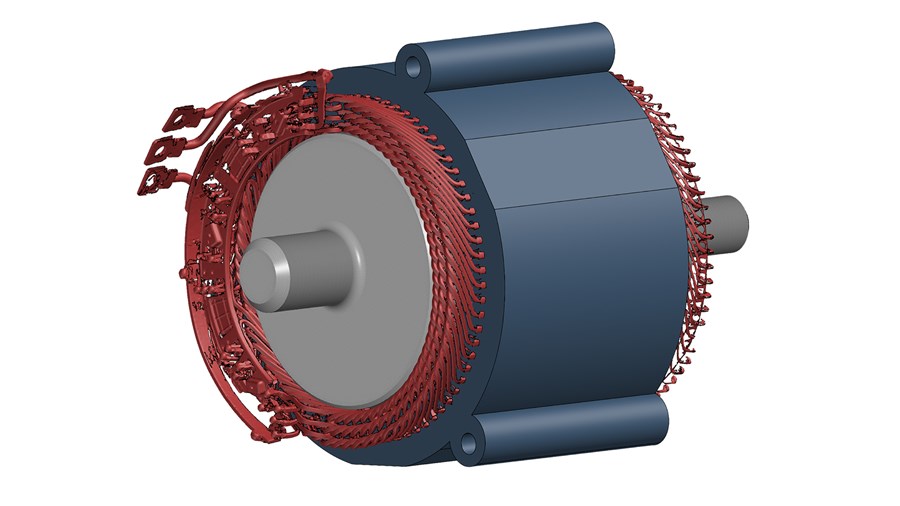
The stator and the rotor in the electric motor must be precisely aligned with each other. This can be simulated and checked in advance by using digital assembly. It aims at evaluating the fitting accuracy of the components.
Technical Information
ZEISS ScanBox for eMotors
| Dimensions | 1600 × 1200 × 2100 mm |
| Power supply | Standard, 100 – 240 V (1-phase, 16 A) |
| Max. part size | Ø 500 mm |
| Max. part weight | 100 kg |
| Entry | Sliding door with safety lock |
| Opening width | 685 mm |
| Floor mounting or fixing | Not required, mobile |
| Loading concept | Manual, crane |
| Sensor compatibility | ATOS Q for eMotors |
Unique Interaction of Optical 3D and Tactile Measurement Technology
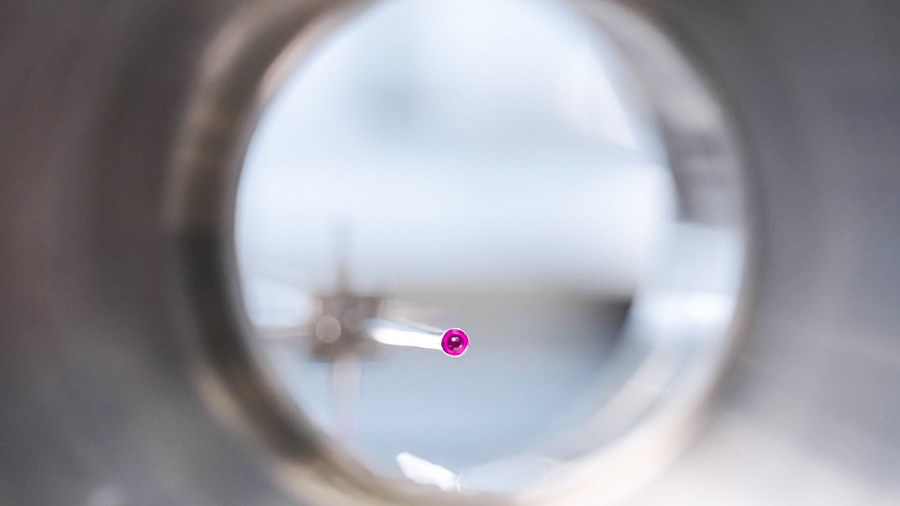
ZEISS PRISMO is the ideal complement to the ZEISS ScanBox for eMotors in the metrological inspection of electric motors. This coordinate measuring machine is perfectly suited for measuring very tight tolerances and provides reliable measurement data even for features that are difficult to access.
ZEISS eMobility Solutions
From software to technical implementation – all from a single source: The integration of optical 3D metrology and high-precision tactile systems provide the ideal solution for ensuring process reliability in the production and assembly of stators and hairpins for electric motors.
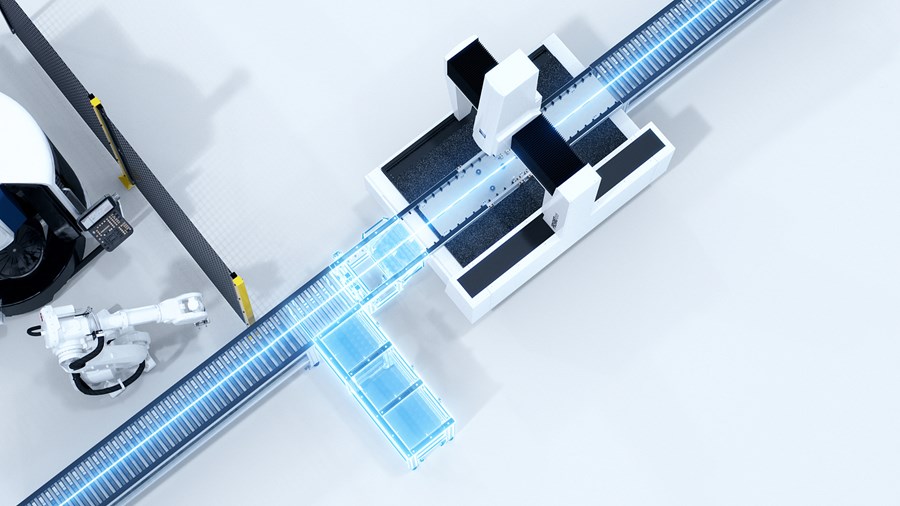
Automation with ZEISS Integration Series
ZEISS feeding and loading systems serve to optimize the flow of parts and operating times throughout the entire measurement process. This also applies to the combination of optical 3D metrology and tactile metrology – both in the measuring room and on or directly in the production line.
Services
GOM keeps supporting its customers after the purchase and installation of 3D measuring systems.


