P&C Automotive: Efficient Production Thanks to Optical 3D Measuring Technology
Location/company: Italy
GOM system: ATOS Triple Scan
GOM software: ATOS Professional, GOM Inspect Professional, GOM Inspect
Company’s field of work: sheet metal forming
Why P&C Automotive choose to use 3D metrology in sheet metal production?
P&C Automotive, a European group of companies in the sheet metal forming industry, optimizes its production processes with 3D metrology and thus creates competitive advantages.
As a result of the growing demand for full-field measurements of forming tools and sheet metal parts, the P&C Automotive Group decided to use GOM’s optical 3D measuring technology. At first, individual measuring tasks were carried out as service, but soon the first optical 3D scanner was installed.
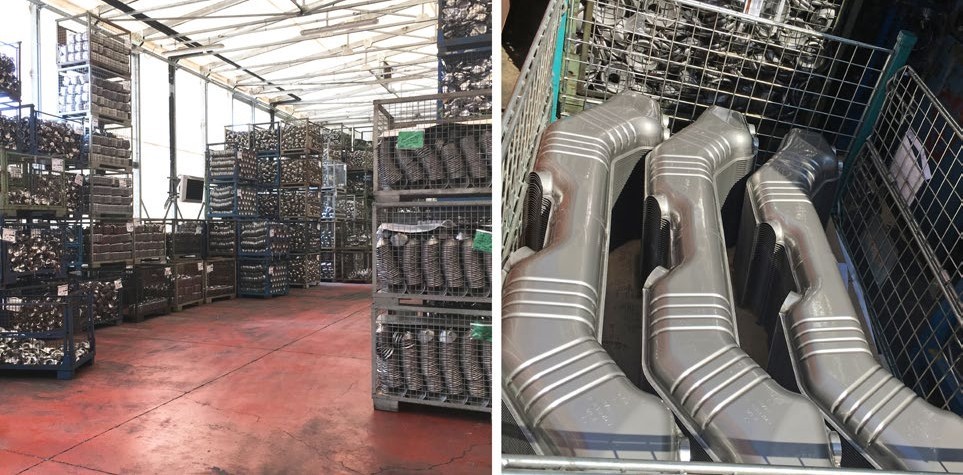
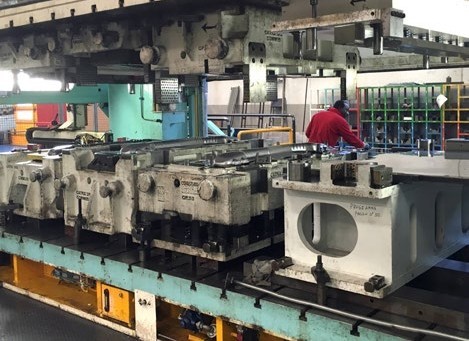
Today, the P&C Automotive Group uses ATOS systems at all its sites, both in tool and mold making as well as directly in the press shops. Thanks to the technological possibilities offered by optical 3D measuring systems, development, production and toolmaking are facilitated. As a result, P&C Automotive is able to meet the changed market demands in the sheet metal forming industry due to increasingly shorter cycle times.
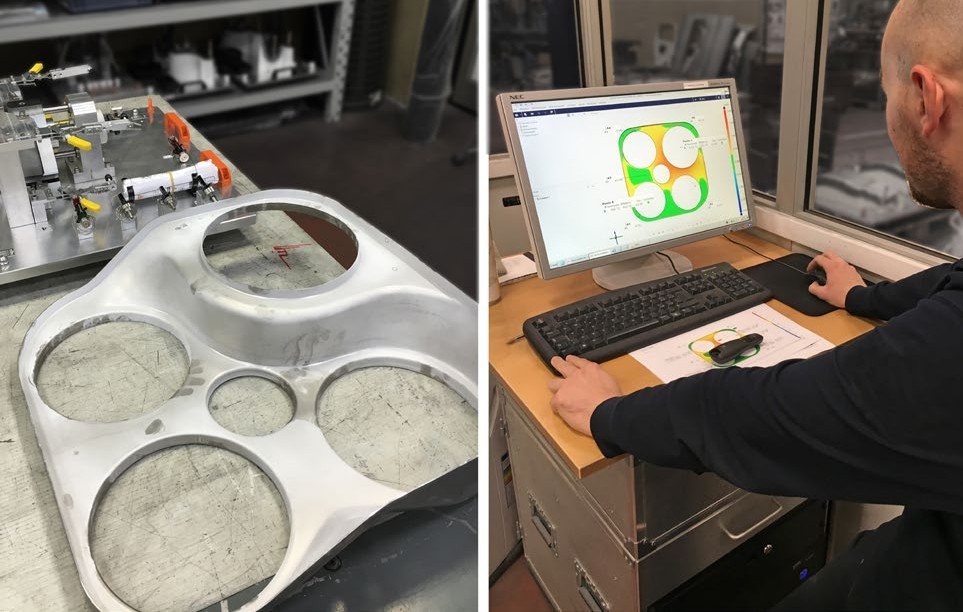
The inspection processes during both the control of dimensions of especially complex structures and the full-field measurement and digitization of parts are significantly accelerated with 3D measuring technology. In this context, particularly features relevant for sheet metal parts, such as trimming, spring and hole patterns, are checked.
Gian Luca Colombo, product developer at P&C Automotive, explains the reason for the cooperation as follows: “We opted for ATOS Triple Scan and GOM as a partner because the company is continuously improving its products. In addition, GOM provides fast and reliable technical support if necessary. Our employees are trained by GOM in the newest technologies, and particularly when a new GOM software is available on the market. Maintenance tasks are always processed in time. Therefore, we are extremely satisfied with our decision.”
3D Scanners used at P&C Automotive
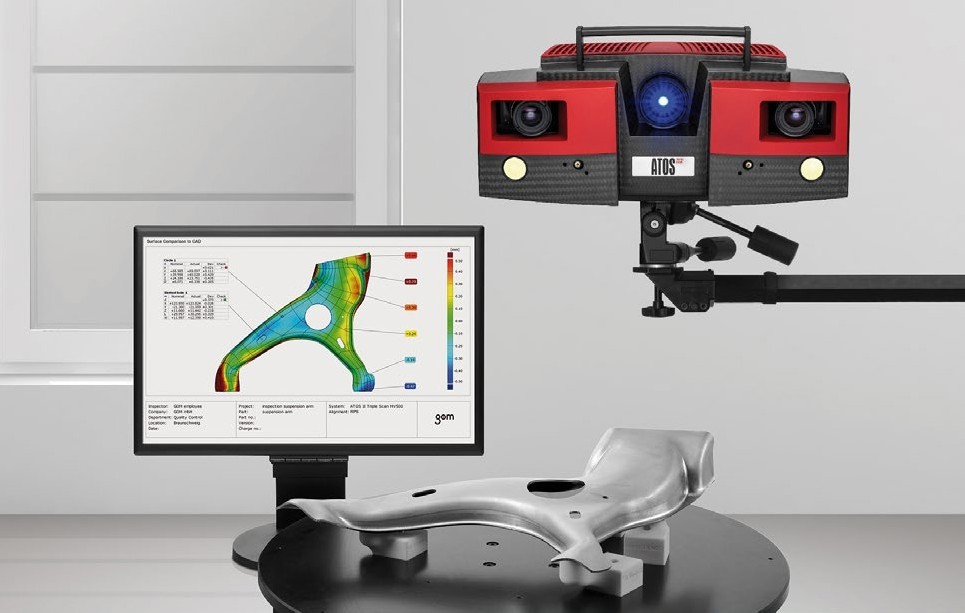
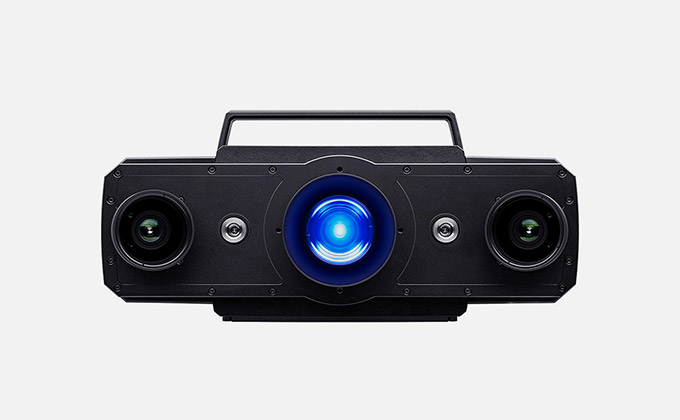
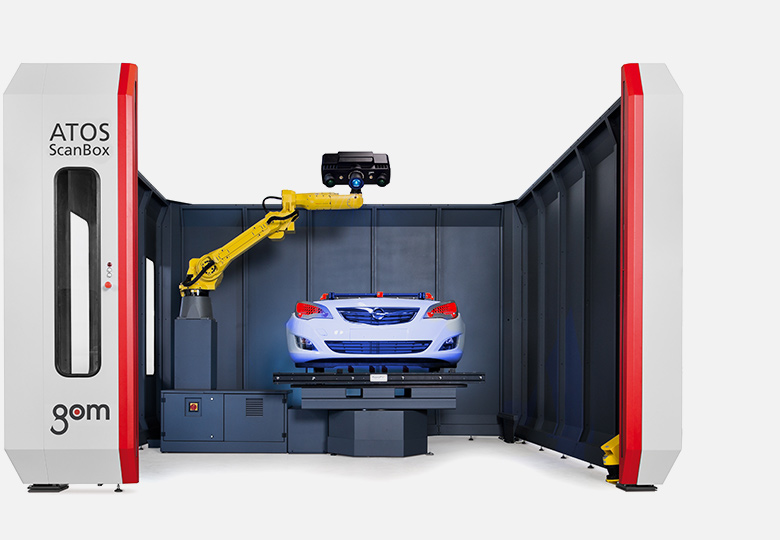
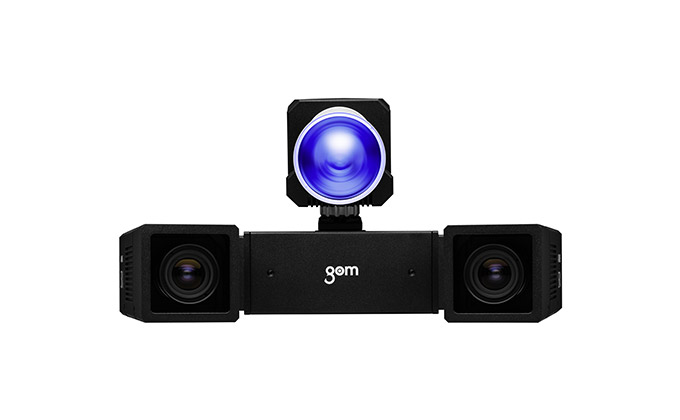
P&C Automotive uses the ATOS Triple Scan system mainly for inspecting tool dimensions and sheet metal parts made from tools. The optical 3D measuring system measures tools and parts contactlessly and three-dimensionally. It is based on the triple scan principle consisting of a left and right camera that are used individually in combination with a projector. As a result, three different sensor perspectives of the part allow three views in one single scan instead of only one view. Even when scanning complex parts, the measuring procedure is acceler- ated due to fewer single scans. In addition, the scanners use the Blue Light Technology. Due to the narrow-band blue light of the LED projection unit, measurements can be carried out regardless of ambient lighting condition- sand of the measuring object’s surface structure. Based on the scans, the GOM software automatically computes the 3D coordinates in the form of a high-resolution point cloud (ASCII / STL).
The computed polygon mesh describes freeform surfaces and geometrical elements that can be aligned with the drawing or directly with the CAD data set in a shape and dimension analysis. The comperative results are visualized in color, and thus are easy to understand. ATOS Triple Scan is a mobile 3D measuring system that can be easily operated and used for various applications. This measuring system developed and produced by GOM is used in industrial applications such as quality control, reverse engineering, and rapid prototyping.
Advantages of Optical Metrology
In contrast to conventional tactile measuring machines that measure every surface point individually, the optical measuring system measures up to 16 million image points per scan. As a consequence, optical measuring systems offer advantages in terms of velocity, precision and completeness of data. As the system works directly in the CAD environment with the complete surface, exactly representing the form and geometry of parts and tools, production faults compared to the CAD can be identified fast and precisely. The individual steps of toolmaking as well as product development are significantly accelerated and optimized.
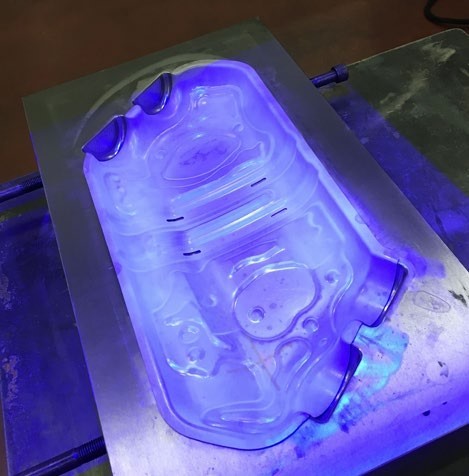
Another advantage of optical measuring techniques compared to tactile measuring techniques is that a com- plete surface measurement allows computing the upper and bottom side of parts and thus also the determination of wall thickness.
Gian Luca Colombo, product developer at P&C Automotive, states: “The wall thickness plays a critical role regarding the mechanical resistance of parts, especially when they are exposed to heat as it is the case with combustion engines. To know the exact wall thickness with an accuracy of 1/100 mm allows an exact and targeted simulation of the forming process.” Measuring data generated with the ATOS Triple Scan system can be used for validating and optimizing the corresponding simulation software. As a result, development processes are accelerated and improved, particularly for products consisting of demanding materials and with a complex surface shape.
Reverse Engineering and Wear Control
Some tools need to be modified or manually adjusted due to specific customer demands. These modifications are made after toolmaking and are neither indicated nor archived in the CAD. Using optical measuring tech-niques, any surface can be measured digitally and is reproducible. “ATOS Triple Scan allows us to archive all modifications of the shape digitally, also manual adjustments”, explains Colombo. As a consequence, we have a CAD of each current shape, which can be reproduced whenever re- quired by our customers.
In addition, modifications to the shape and corresponding component can be saved based on the project, including individual tolerances of the respective parameters and modifications.
GOM’s measuring system plays also a critical role in series production. Regular part measurements can be used as a basis for a trend analysis to forecast tool wear and to ensure that production always takes place within the relevant tolerances and quality demands.
Inspection Software Facilitates Quality Control
Besides the metrological hardware, GOM also develops software solutions for quality control and quality manage- ment. Integrating the GOM inspection software for 3D measuring data in the existing IT infrastructure at P&C Automotive was easy. The ATOS Triple Scan sensor is controlled via the ATOS Professional software and the GOM Inspect Professional software to generate precise surface data efficiently and to process the data in accordance with current security policies. The software supports and guides the user through the entire mea- suring procedure and various measuring tasks offering predefined measuring principles.
With GOM Inspect Professional, it is possible to process STL meshes regardless of the sensor and to analyze the data based on high-resolution point clouds. Furthermore, gathered information and completed measurements are traceable, and the entire measuring procedure can be controlled and planned in the company system of the P&C Automotive Group. Measurements and analytical results provided by the freely available GOM Inspect software are not only available within the network, but can be shared with the sales department and customers. Especially customers of the P&C Automotive Group benefit from the fact that measuring results are visualized in easily understandable 3D graphs instead in form of confusing tables and long inspection reports.
P&C Automotive Group: A European Group of Companies
The P&C Automotive Group is an amalgamation of several companies from the sheet metal forming industry that was found to establish an efficient and highly specialized organization in the field of sheet metal forming. Due to its streamlined structures, the group can synergistically pool the competences and experiences of the involved companies. The common objective of the group is the surplus value for the customers due to the identification of optimized and innovative solutions, not only in production but already in design and development. At its sites, the group has at its disposal nine CNC milling lines, a laser cutting unit as well as three testing presses with a weight of 800, 600, and 500 tons. These are complemented by 70 cold forming units with a weight from 400 to 2000 tons, six ultrasonic washing systems, ten welding systems and various measuring and test laboratories.
 |
 |
Customers of the P&C Automotive Group are, for example, Fiat, Maserati, Same Deutz-Fahr, Volkswagen, Riello, and Magneti Marelli.
Metrology Systems for Sheet Metal Forming
 |
 |
 |
 |
Bring quality, precision, speed and reliability to your production proccessAIE provides the total 3D metrology solutions from GOM to industrial customers and mechanical research institutes and universities in Vietnam. Contact us for free consultation today. |


