Fewer Loops for Better Tools Using Optical 3D Measuring System
Oechsler: Fewer Loops for Better Tools
Site/ Country: Ansbach / Germany
GOM System: ATOS Triple Scan, GOM Inspect
Company’s field of work: Injection molding and plastic industries
Oechsler is a traditional company from the Franconia region of Bavaria, German, that continuously works to improve its process chains. By using an optical 3D measuring system, the plastics specialist has been able to significantly accelerate its production of injection molding tools – among other things.

If drivers of modern cars no longer need to worry about difficult uphill starts assisted by manually pulling the park- ing brake, this is in part due to an invention by Oechsler AG, based in Ansbach, Germany. In the late 1990s, the Bavarian plastics company developed an actuator for the Electronic Parking Brake (EPB), which is replacing the traditional manual brake in an increasing number of vehicles. The core of the actuator is a gearbox made of plastic. The patented design uses high-tech materials to fulfill the demanding performance requirements while maintaining a low installation weight.
Oechsler: Precision since 1864
“Today, the EPB is one of our biggest sellers”, explains Marco Wacker, Dr.-Ing., a plastics expert who wrote his doctoral thesis about composite fiber materials. He is the head of technology and innovation at Oechsler and a member of the managing board. “The core compe- tence of the company founded in 1864 is precision” says Wacker. “Most of our products are gears, etc. for the automotive industry, for medical technology, sport- ing goods, telecommunications, and other industries. We deliver our gears and housings either individually or as complete assemblies.” Based in the Franconia region of Bavaria, Germany, the company delivers everything from a single source: concept design in cooperation with custom- ers, specification and simulation, up to tool making and production of parts.
Benchmark Decision for Optical Measuring System
Just at the headquarters in Ansbach (one of six produc- tion sites globally), more than 400 different materials are processed, with a total volume of 6,000 tons / year. Almost 80 percent of these materials are fiber reinforced. “Such materials have a natural tendency to warp”, ex- plains Wacker “especially in some products like housing par with a low wall thickness.
The measurement of these housings with tactile systems kept causing problems. Changes that had been made to the tools were not always reflected in the measured data. “When we looked at the problem a little closer, we realized that tactile measurement took too much time, in addition to measuring only part of what we needed. On top of this tactile measurement reduces a 3D measure- ment to an abstract representation of binary or ternary points in a table. Then the designer has to implement the results into his 3D system”, explains Wacker. “It no longer made sense in the digital age.”
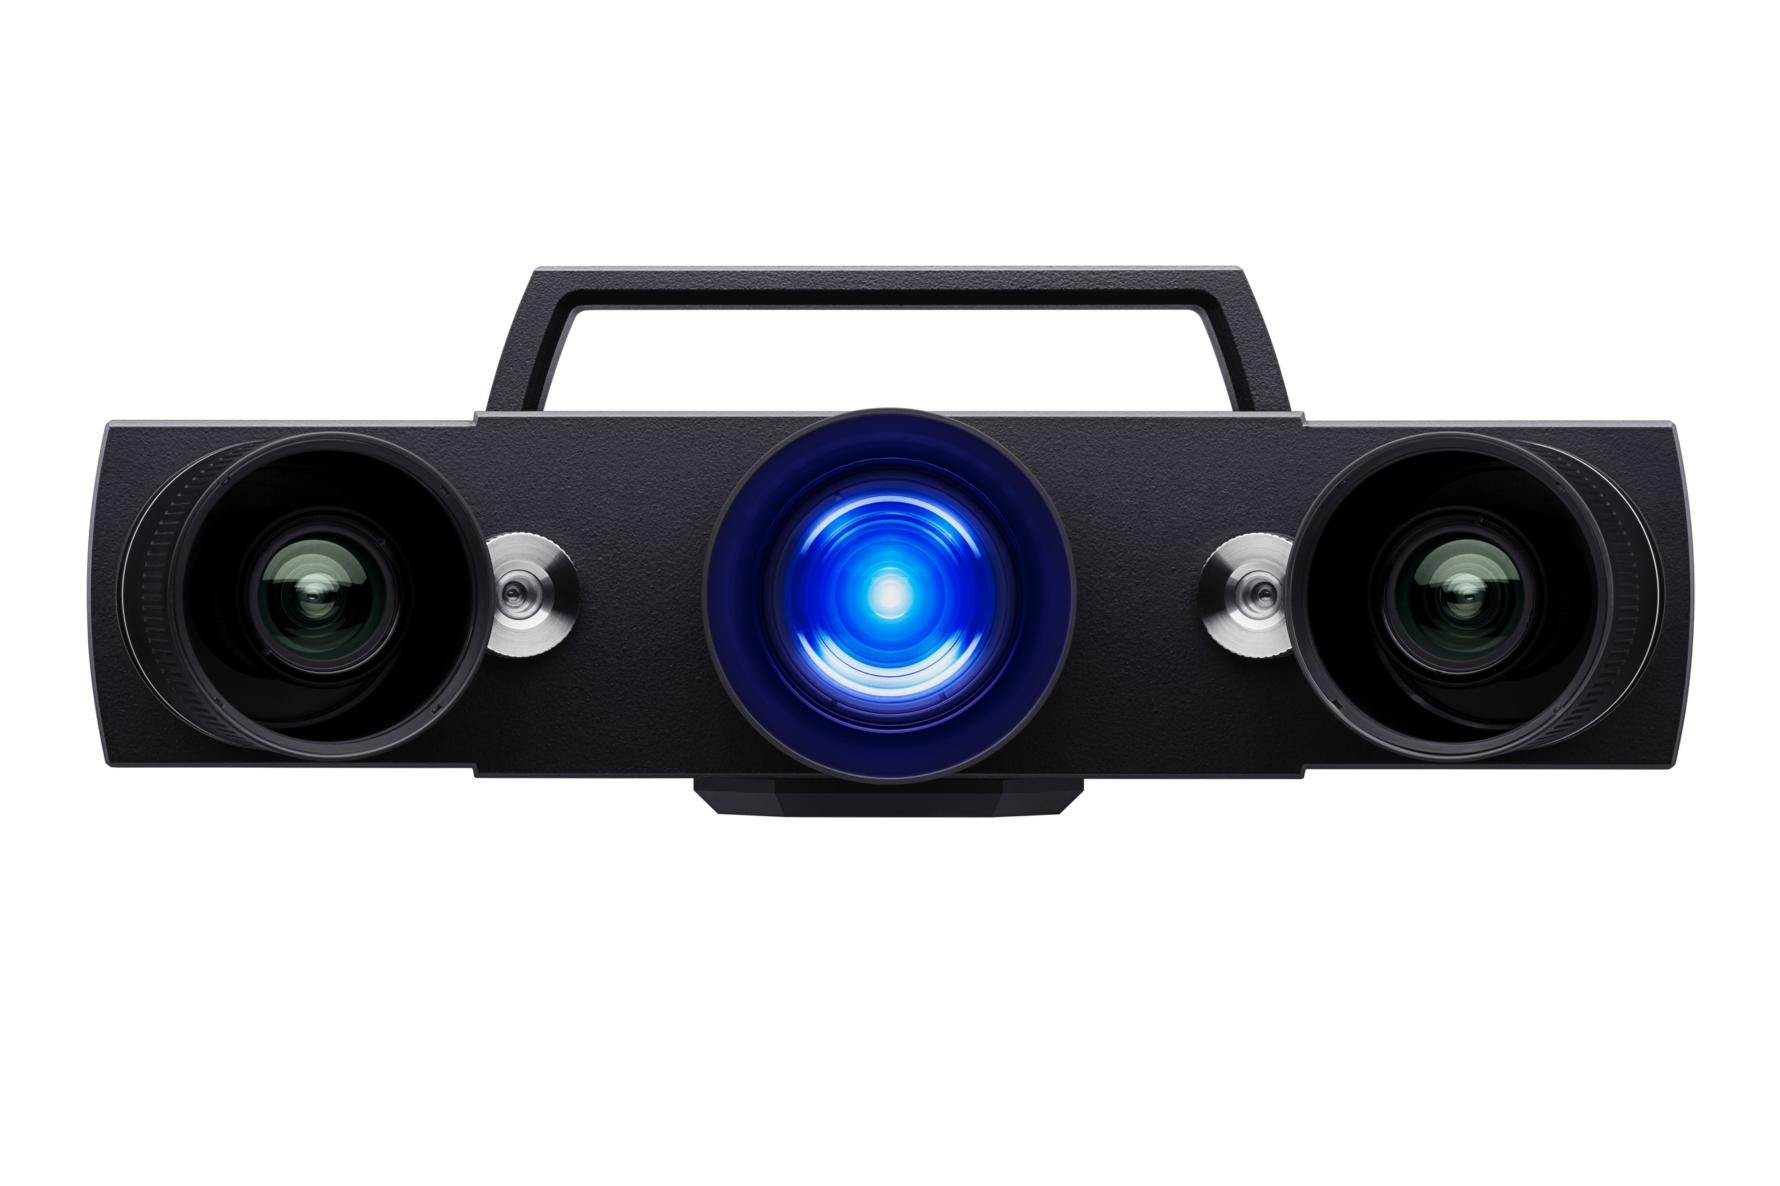
In 2012, the search for an alternative method began. The final decision was based on a benchmarking process that compared the in-house, tactile measuring systems with a CT scan (computer tomography), as well as with an op- tical measuring system: GOM‘s ATOS Triple Scan, which uses 3D scanning with fringe projection. The CT system and the GOM solution had prevailed in a pre-selection process.

Oechsler AG is a single-source provider that supports the entire process from concept design in collaboration with customers, specification and si- mulation, up to the tool making and production of parts (Image: Oechsler)
Fringe Projection for Measurements that Take only Seconds
During the intense benchmarking process, the same housing part was measured six times with 550 data points each. In the end, the CT and the fringe projection technology were neck and neck in terms of speed and accuracy. The fact that Oechsler produces many hybrid parts (e.g. housing parts with inserts and/or lead frames) was the decisive factor in favor of the ATOS Triple Scan by GOM.
 |
 |
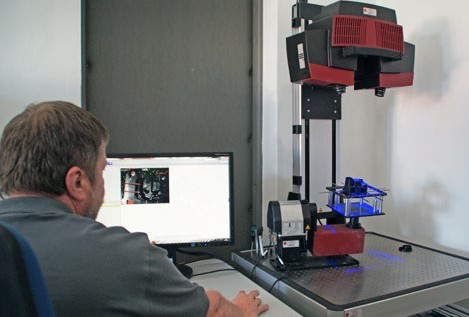
| The 3D digitizer enables simple, fast, and reliable measurement work- flows at Oechsler (Image: GOM) | Norbert Krauß, Research & Development Project Manager at Oechsler (Image: GOM) |
Instead of capturing individual points, the optical 3D scanner performs a full-field scan of the entire part geometry. The result is a high-resolution point cloud.
The projected fringe pattern is recorded by two cameras. A highly detailed image consisting of millions of measuring points can be recorded within a few seconds non-con- tact. The GOM software computes three-dimensional object coordinates for each camera pixel. The calculated polygon mesh describes free-form surfaces and regular geometries that can then be aligned with the drawing or directly with the CAD data set in a shape and dimension analysis – the measurement is full-field. Compared with tactile measurement technology, the entire part surface can be scanned very quickly without any blind spots.

Dr.-Ing. Marco Wacker, board member at Oechsler AG in charge of technology and innovation (Image: GOM)
At-a-Glance Component Overview Reduces the Number of Iterations
Norbert Krauß, Research & Development Project Manager at Oechsler, confirms: “The great thing about the optical system is that it shows many things at once. There is no need to think about flatness; you can see where the diameters are, and the location of connectors, contacts, and positions.” The user gets an overview of the entire part at a glance, instead of just a few abstract points like with tactile measurement. This makes it a lot easier to perform several corrections in one step.
“Previously, we needed to approach tool modifications step by step in an iterative process to avoid build-up weld- ing,” explains Wacker. “Now we can see the entire compo- nent, and that gives us a lot more confidence. We‘ve been able to significantly reduce the number of iterations.”
Simulation and Measuring System Complement Each Other
After a part has been constructed, a quote needs to be calculated. If Oechsler gets green light from the customer, then the tool is verified in the tool making department, and a flow simulation is calculated in an attached simula- tion department using the Moldflow Software. The sim- ulation delivers excellent results for most of the materials that Oechsler uses, including the warp prediction. “This is why we build our tools with a slight warp now,” Wacker explains. “And to enable us to become better and better over time, we created an internal control loop.”
At first, the simulation expert enters process parameters into the simulation system based on his long years of experience. The operator at the injection molding machine accepts the data, modifies parameters if necessary, or makes the tool based on his own experience. In any case, he measures the plastic product using the GOM system and returns the results to the simulation. Wacker: “On one hand, this gives the simulation expert feedback on the quality of his prediction. On the other, he learns how the process has to be adjusted according to the technical experts. Based on this feedback, he can then improve his model again to incorporate such insights into the next simulation.” Birgit Hauf, a member of the R&D department and in charge of the GOM system, adds: “Step by step, we are building experience like a library. In the long run, this helps us to simplify repetitive measurement tasks. GOM is a key element in this internal control loop.”
The Goal: Feedback until the Necessary Accuracy has been Achieved
Construction, Tool Making, and Production departments then discuss possible modifications based on the measure- ment results. Birgit Hauf: “In cooperation with the tool maker, I create a correction report that is implemented in CAD. The tool is corrected and re-sampled.” This control loop is repeated until the desired accuracy has been achieved. Krauß (Head of R&D): “Thanks to the improved information that the GOM system delivers, it now takes only three loops on average for new parts. For parts that frequently recur in similar shapes, we only need one large and one smaller loop. With tactile measurement, it took a lot of effort and multiple iterative loops to slowly approach the final tool contour.” Board member Marco Wacker adds: “Our goal is one loop.”
 |
 |
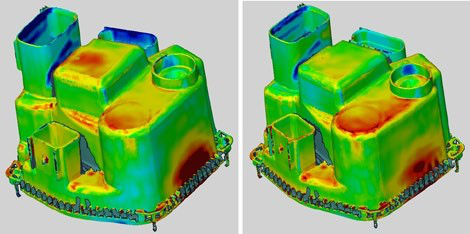
| Scan-based comparison of a part made from different plastics (Image: Oechsler) | Comparison of an attachment bore before and after correction, based on GOM measurement data and evaluations (Image: Oechsler) |
3D Scanner also Excels in Materials Comparison
Oechsler is also using the ATOS Triple Scan to compare materials. “A PBT GF 30 from one manufacturer doesn‘t necessarily behave the same way as a PBT GF 30 from another manufacturer,” says Wacker. The measuring system allows to determine quickly during the sampling stage whether a material behaves similarly to the reference material and which adjustments may be required. With housing parts, the critical point is often at the connector, where the wall thickness is lowest. “There can be considerable variation between manufacturers in the tenths range, which we may not be able to compensate by with parameter changes,” Wacker describes the problem. “As a last resort, we can only do a tool correction.” This can be prevented by sampling several alternative materials at an early stage during tool release. The GOM system helps to reduce the effort required and quickly delivers results. This is a critical factor especially during the sampling stage of a project.
Free Software for Comprehensive Evaluation
Oechsler uses the free-of-charge GOM Inspect software to evaluate and visualize the measurement data. The software package enables editing and evaluation of 3D data from fringe scanners, laser scanners, CTs, and other sources. This free software can also be used as a 3D viewer for collaborative evaluation of measurement results.
Birgit Hauf: “The GOM Inspect software isn‘t restricted to the GOM system. We can use it to do any kind of evaluation, such as comparing CAD data, querying dimensions, doing 2D sections. It‘s a very versatile tool.” Therefore, not only the departments directly involved in measurement, but also trainees and sometimes even the Oechsler management board use this software. Wacker: “Just out of curiosity, I used GOM Inspect to do an eval- uation by myself.”
Automated Measurement as a Future Priority
The responsibility for the entire project is still with the R&D department. However, board member Marco Wacker plans to transfer them to the technical depart- ments step by step. By now, the new technology has found broad acceptance in the departments. R&D project manager Krauß: “We have developed the process to a stage that the departments can easily work with it.
This would be another step towards Marco Wacker‘s goal: “In the midterm, we plan to semi-automate the measurement with GOM, and maybe go fully automated at some point. This would give us considerable time and process-related benefits for the company.”
Other optical 3D measuring systems
Bring quality, precision, speed and reliability to your production proccessAIE provides the total 3D metrology solutions from GOM to industrial customers and mechanical research institutes and universities in Vietnam. Contact us for free consultation today.
|

