Quality Control at Automotive Supplier GEDIA Using Optical 3D Metrology Systems
Location/ company: Attendorn, Germany
Measuring System: ATOS, ATOS ScanBox
GOM software: ATOS Professional, GOM Inspect Professional, GOM Inspect
Company’s field of work: Automotive
The automotive supplier GEDIA is taking a new approach to quality control: The company is replacing measuring technology based on tactile systems and gauges with full-surface optical 3D coordinate measurement. The implementation of optical metrology systems is making GEDIA more flexible. It is cutting costs and reducing measurement times.
Founded in 1910, GEDIA Gebrüder Dingerkus GmbH develops and produces structural parts and assemblies for automotive car body manufacturing. The company is based in Attendorn, Germany, and operates additional production sites in Poland, Spain, China and Mexico. All plants manufacture pressed, stamped and drawn parts for the automotive industry. The company also runs engineering centers in France, the USA and Sweden.
Technological Leadership as Corporate Goal
Until today, GEDIA has focused on tactile measurement, using coordinate measuring devices and gauges for qua- lity control of assemblies and in toolmaking. However, this approach to measurement reached its limits as the company grew and expanded its sites, e.g. at Attendorn. Particularly the inspection of sheet metal parts became time-consuming and labor-intensive, as all parts had to be transported several hundred meters from the press or joining plants to the central measuring room. In order to streamline the process, the decision was made to have the measuring system come to the component, instead of transporting the component to the measuring system. However, this would require mobile measuring equip- ment designed for use in production.
The new quality control approach is an important step in realizing GEDIA’s goal of leading the industry in produc- tion technology. As a consequence, the changeover from traditional tactile systems to full-surface optical 3D coor- dinate measurement is being implemented worldwide at all production sites and at all relevant facilities, such as press shops, joining plants and assembly. (Fig. 1)
Larger Scale Production Requires Shorter Measurement Times
Like many companies that have to adjust their processes to accommodate increased production levels, GEDIA was challenged to find a way to cut measurement times. At the same time, quality had to be maintained, al- though cycle times grew shorter and production output increased. However, the relatively slow tactile measure- ment of parts, which often have complex shapes, results in long occupation times and complex logistics, and even then, only a few points on the part are checked.

In order to manage rising output quantities and a con- stant increase in measuring requirements, GEDIA had to outsource a growing number of measuring tasks to external service providers. This situation had two main drawbacks: Not only did it result in high costs, but it also meant that in-house knowledge had to be shared with parties outside the company. Thus, the aim of the new approach to quality control was to relocate the entire measurement and digitizing expertise back to the com- pany’s own workforce.
With this in mind, the quality control and measuring technology experts at GEDIA had four main criteria to consider: The systems needed to deliver full-surface measurements while also being mobile and fast. The company also wanted to regain the complete measuring competence in-house.
The Approach to Optical Measurement Technology
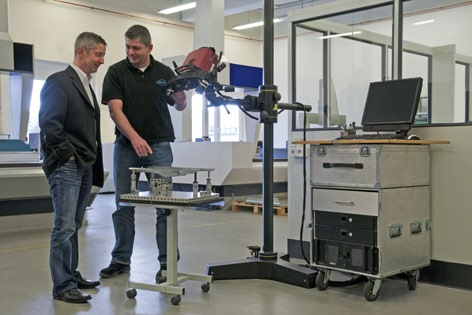
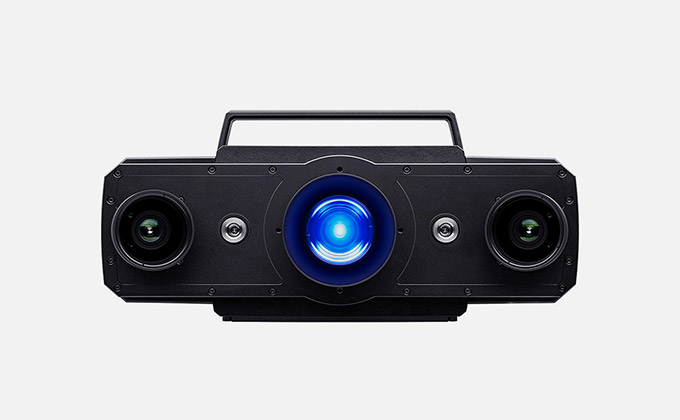
After various unsatisfactory trial runs with mobile, tactile devices mounted on articulated arms, it became clear that tactile metrology was not going to meet the com- pany’s needs. It was time to completely rethink the mea- suring technology used. GEDIA launched the transition from tactile to optical metrology by investing in a mobile ATOS 3D scanner for full-surface optical 3D coordinate measurement. This was an important first step toward the company’s main goal of keeping its technological leadership. (Fig. 2)
With its fast supply of precise measuring data, the high-resolution optical ATOS 3D digitizer fulfilled the company’s criteria. For various sizes and surface char- acteristics of GEDIA’s components and even complex measuring tasks, the optical system offers:
- Precise 3D coordinates with high data quality
- Parametric inspection and traceable evaluation
- Full-surface deviation to CAD, or from part to part
- Evaluation according to 2D drawings
- Inspection sections, geometric dimensioning and tolerancing (GD&T) as well as trend analysis
- Complete, clearly presented measuring reports
Used for measuring tools and forming dies, but also for the measurement of sheet metal parts, the manual ATOS system quickly demonstrated that GEDIA could signifi- cantly benefit from optical measurement technologies. From prototype development to serial production mea- surement, part analysis, digitizing up to virtual joining of assemblies – all of these tasks can be performed by a single technology, as opposed to the much less versatile tactile measuring method.
 |
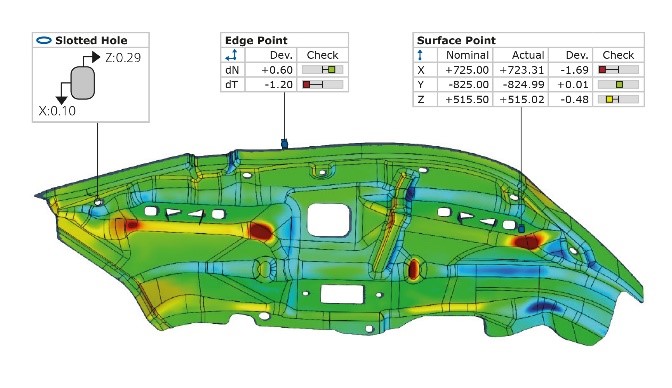 |
| Fig. 2: GEDIA launched the transition from tactile to optical metrology by investing in a mobile ATOS 3D scanner for full-surface optical 3D coordinate measurement. The measuring data can be analyzed immediately and compared directly with the CAD data. Deviations to CAD are highlighted in color and problematic areas are easy to recognize, enabling specific improvements to be made to the manufacturing process. |
An additional benefit with full-surface measurement is that it makes efficient tool corrections easier, and, as a result, fewer iterations are required before a tool is approved. By measuring the final tool contours with the ATOS scanner, it is also possible to keep CAD data for the tool up to date. This enables copy milling of tools based on ATOS data. (Fig. 3)
The clear, easy-to-read measuring reports generated from full-surface data provide an additional benefit: In contrast to pages of tables from test reports with indi- vidual measuring points, they provide significantly better readability and clarity. This reduces the time required for discussing the results, and any necessary correction steps can be implemented quickly and efficiently.

Next Step: Automated Optical Metrology
The experiences at GEDIA soon led to an additional requirement: In order to make the process more flexible, and more efficient in terms of time and costs, GEDIA wanted to have the optical measurement automated and still mobile.

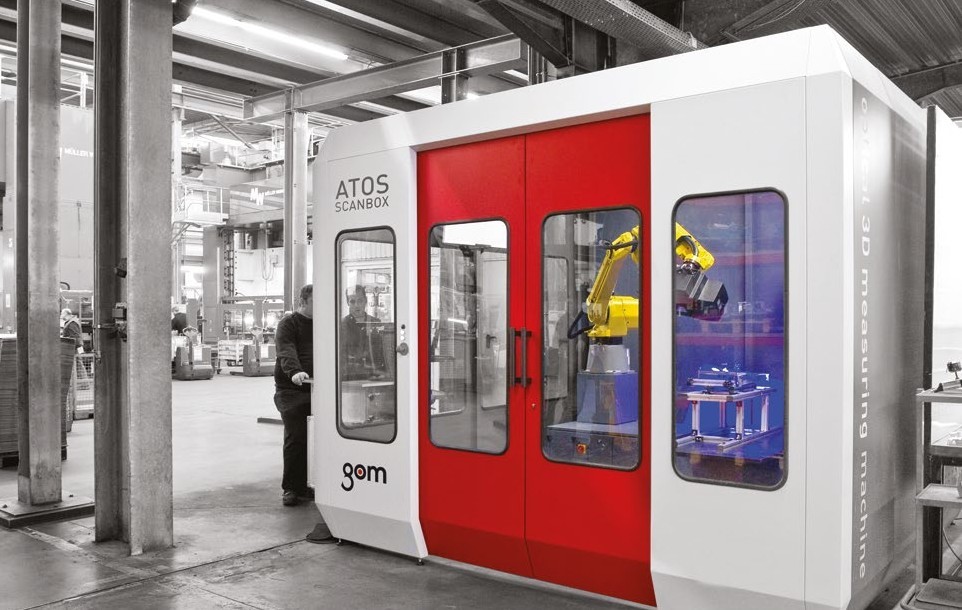
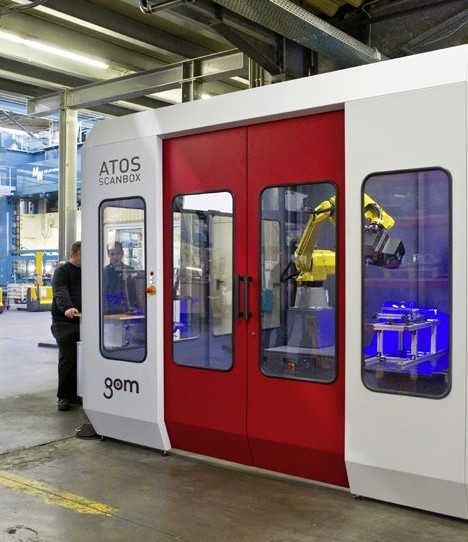
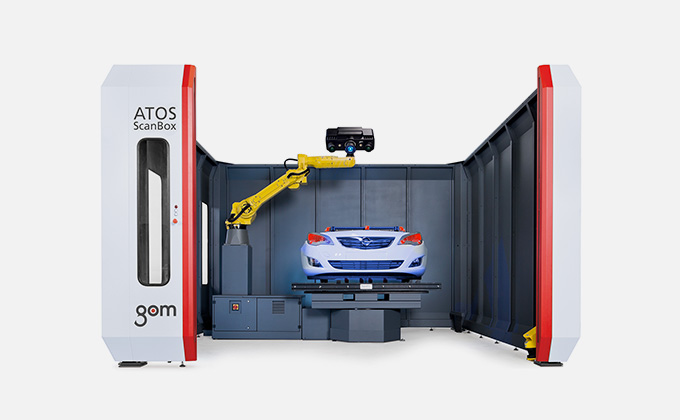
When a GEDIA-designed customized measuring cell with integrated GOM equipment proved to be a step in the right direction (Fig. 4), the company decided to acquire a standardized, automated measuring cell: the ATOS Scan- Box (Fig. 5). As opposed to a customized solution, the ATOS ScanBox comes with all elements required for fully automated 3D digitizing and inspection. The complete system includes hardware, software, worldwide custom- er service, safety equipment and documentation. As a result, the automotive supplier does not have to worry about any additional planning or investments – all that is needed for operating the turnkey measuring cell on site is the floor space and a power supply.
One point especially important to GEDIA is that with GOM, the company is cooperating with a single part- ner for planning, setup, training and support. Even the normally required safety approval can be eliminated: Industrial housing of the measuring cell ensures that there is no safety risk for personnel. Damage to assem- blies and components is prevented by means of collision protection.
Standardized Measuring Cells at Multiple Sites
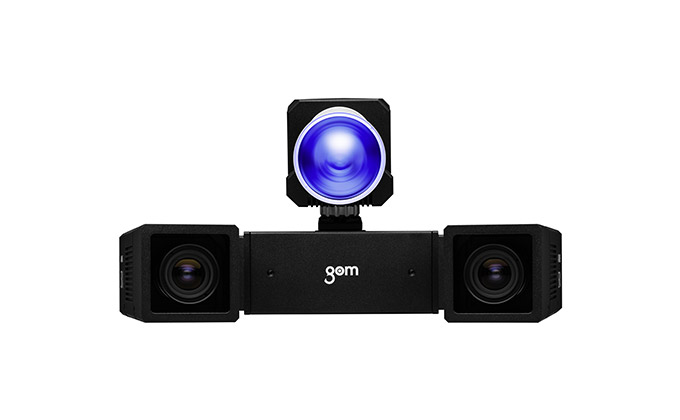
GEDIA’s first ATOS ScanBox is in use for production-re- lated quality control at the press shop in Attendorn. The core of the measuring cell, developed with precisely such production applications in mind, is the robot-guided ATOS Triple Scan 3D sensor. Another advantage for the automotive supplier is that the ATOS ScanBox can be directly operated by production staff, as all measurement and inspection processes up to the measuring report can be conducted quickly and easily. This is made possible by the standard software solution VMR (virtual measuring room), which reproduces the actual environment of the ATOS ScanBox down to the smallest detail. As a result, the robot can be operated with simple drag & drop commands and without the robot control panel. In the VMR, even offline programming without any actual parts is possible using CAD data.
At the Attendorn press plant, the ATOS ScanBox has helped cut measuring times by more than half in com- parison with previous tactile solutions. This has exceeded GEDIA’s expectations. In addition, customers are able to work without expensive measuring gages when using optical measuring technology.
A second ATOS ScanBox is already in use to check the quality of one of GEDIA’s most important products, the completely assembled rear end of a German premium car. Even large components can fit into the measuring cell. With regard to the different size of the measured parts, the ATOS ScanBox series consists of four models.
GEDIA has already entered the planning stage for a third ATOS ScanBox for its press plant in Poland, and addi- tional systems will soon follow for the sites in Spain and Hungary. Even though the measuring cells are in use
at different locations, GEDIA is still able to centralize its quality management: The measurement and inspection processes with the ATOS ScanBox are standardized and can therefore be applied uniformly at various locations. As a result, the entire quality control process is becoming traceable and transparent.
In the future, GEDIA is going to complete the reorgani- zation of its quality control and it is going to equip all sites with optical measuring systems exclusively – the final step for GEDIA to realize its corporate goal of leading the industry in production technology.
Metrology Systems for Sheet Metal Forming
 |
 |
 |
 |
Bring quality, precision, speed and reliability to your production proccessAIE provides the total 3D metrology solutions from GOM to industrial customers and mechanical research institutes and universities in Vietnam. Contact us for free consultation today. |


